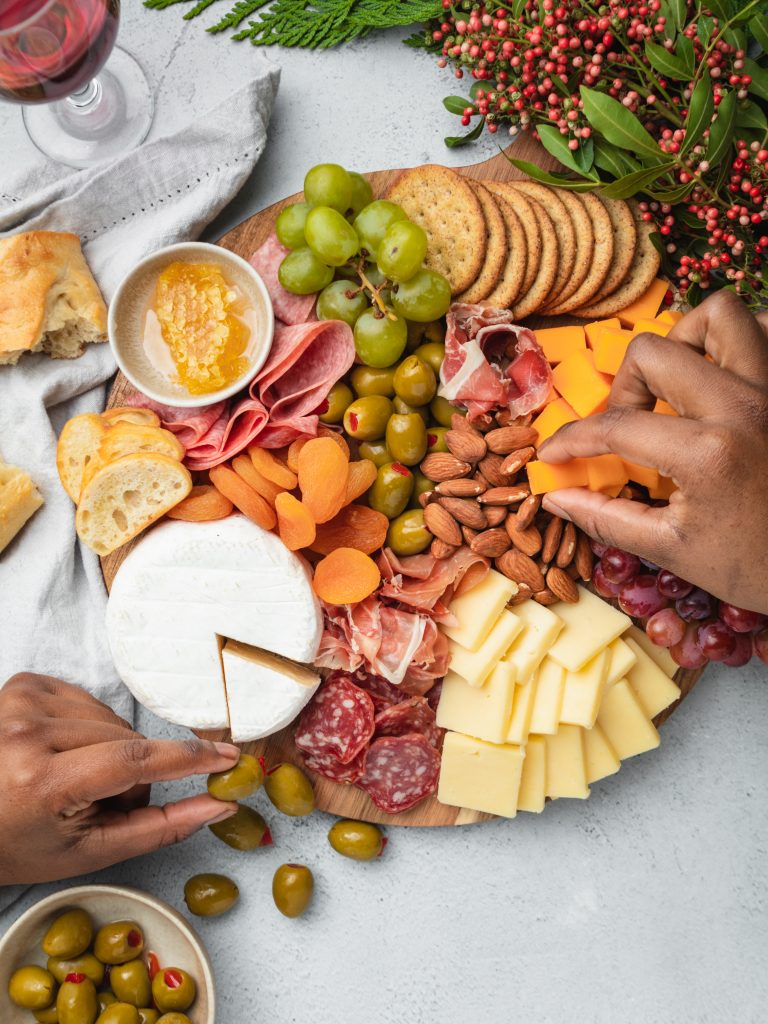
Want to impress family and friends at your next gathering? Keep reading for great tips and tricks for building a Pinterest Worthy Charcuterie Board like this one!
I absolutely love cheese and charcuterie boards, because they are such a simple way to add sophistication to any event. The best part? You don’t even need to cook or even touch a stove! So here are a few simple steps to get you that beautiful spread.
5 Steps to Create a Pinterest Worthy Charcuterie Board
Step 1: Find a surface for your cheese and meats
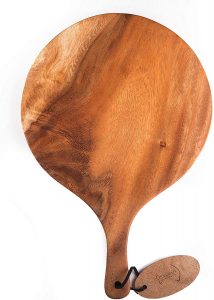
There are many different surfaces that you can use for charcuterie boards. The most common is a wooden board, but you can also use a platter, a slate, or even a large dinner plate depending on the size of the spread you want to make. I used a wood board similar to the one pictured below that purchased for under $20 at my local Home Goods store. They can also be found on Amazon or Etsy.
Step 2: Choose a few meats and cheeses.
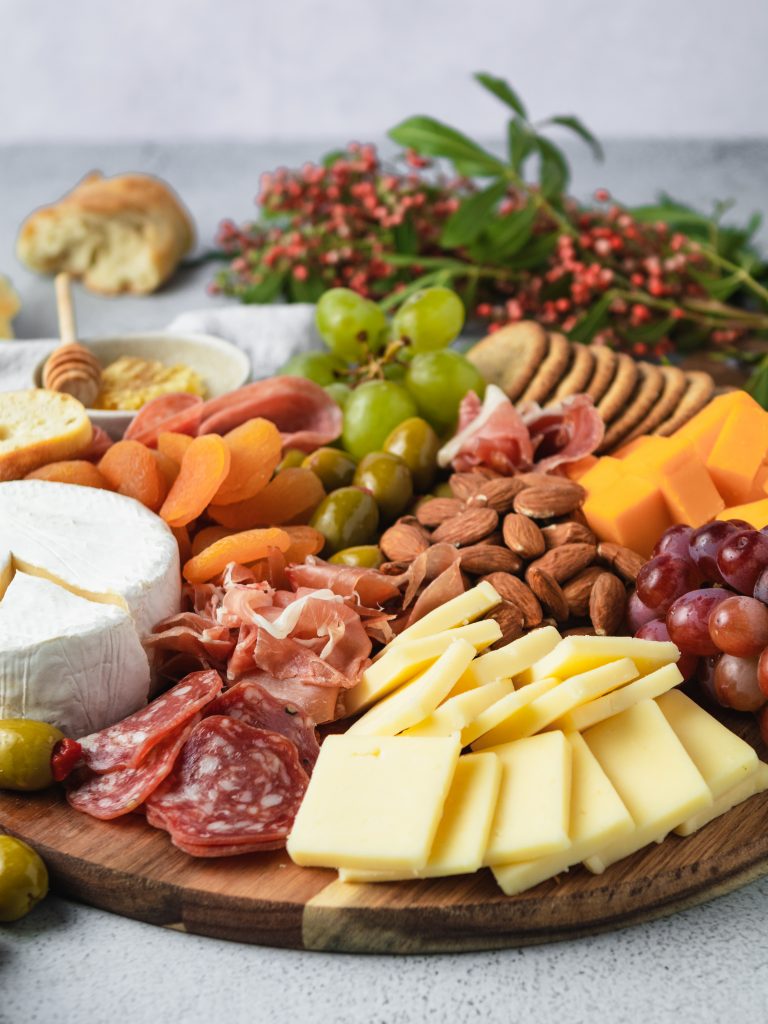
A good charcuterie board usually has a nice assortment of meats and cheeses. I generally like to start with 2 or 3 meats and 2 or 3 cheeses. This can be one hard cheese, one soft cheese, and one blue cheese. I am not a huge fan of blue cheese, so instead I used one extra sharp cheddar and one white cheddar. As for the meats, I went with a prosciutto, a hard salami, and a genoa salami.

Step 3: Cut the cheeses into different shapes
When cutting the cheeses, I tend to cut each type of cheese into a different shape. This adds visual interest, and makes each cheese stand out. I may cut one into cubes, another into triangles, and the other into squares. I also like to fold the meats into interesting shapes as well to add a bit of visual variety to the board.

Step 4: Fill the board with fruits, jams, and more
Meat and cheeses can add up really quick. If you want to make your board look fuller, fill in the empty spaces with fresh fruit, dried fruit, nuts or berries. It is good practice to include a sweet element and a fresh element to your charcuterie board. To add sweetness, include honey, dried fruit, or a fruit jam. For freshness, try adding fruit like grapes, berries, figs, or pears.
Step 5: Crackers, breads, and of course wine!
Finally, decide what you want to serve your cheeses and meats with. An excellent choice would be a variation of gourmet crackers and crusty breads. You’ll want to get quality ingredients that can stand up to the rest of the ingredients on the board.
If you’re like me, you’ll also want to pick up a nice bottle of wine to pair with the choices of cheese you put together. Learning which wines to pair with which cheese can be such a fun process to enjoy while snacking on your newest creation! Happy grazing!